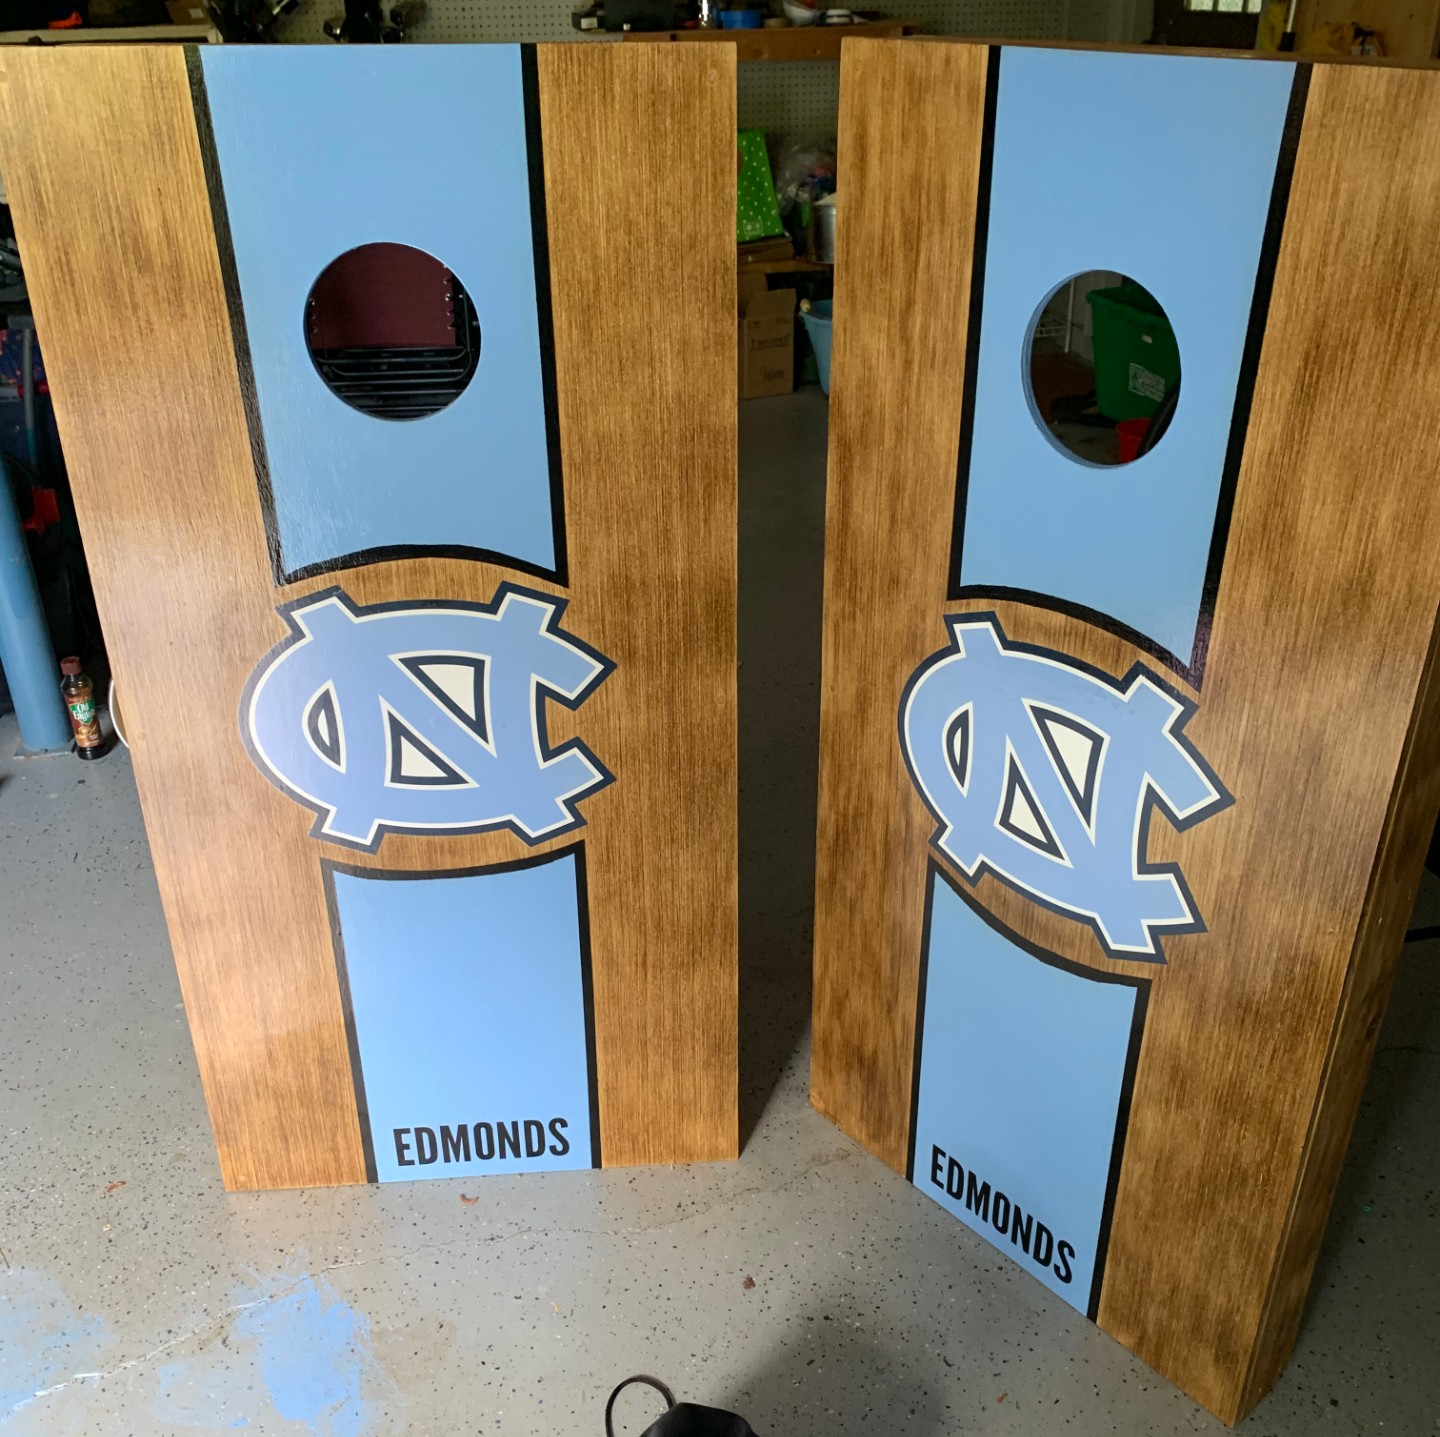
One of the questions we get asked a lot regarding custom cornhole boards is “how do you make curved edges in paint on boards?” So we thought it would make sense to give you a step-by-step guide on how to make curved lines on custom boards. This is great if you make boards as a business, are a part-timer or simply want your own set of boards.
Creating curved lines on cornhole boards is not something we would consider “easy”. It’s time consuming and that’s why we charge extra for this type of design when we are designing and creating custom cornhole boards. That said, once you have figured out the tricks and gotten the hang of it, it definitely is a skill that can help you make a truly great looking set of boards. Lets dive into the steps you can take to create this look.
Materials Needed
First off we wanted to discuss some of the necessary materials you will need for this type of project. Below is a list with some links to products on Amazon if you need to pick anything up – obviously you will need paint too, we recommend Sherwin Williams exterior paints. This article doesn’t get into the creation of the actual boards, so make sure you have those too!
The Process
Step 1 – Create Vertical Tape Lines
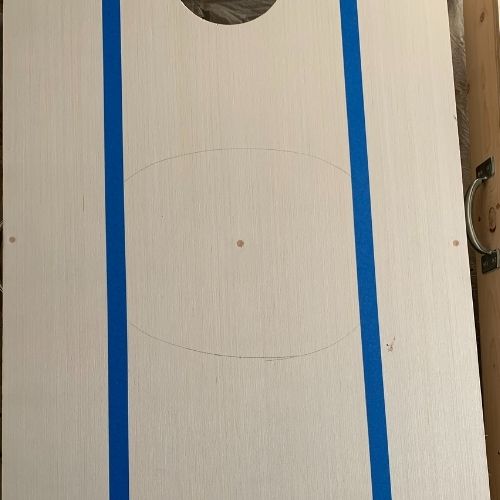
The first step is to lay the boards out on your floor/surface and to make the central “gutter” where the paint will go. We generally do a 12″ central gutter with 6″ on the outside of each. So you would measure 6″ in on each side (both top and bottom of the board” and make a mark. From there you can run a strip of tape down each side to create the gutter.
Step 2 – Create Wire Trace & Draw Curves
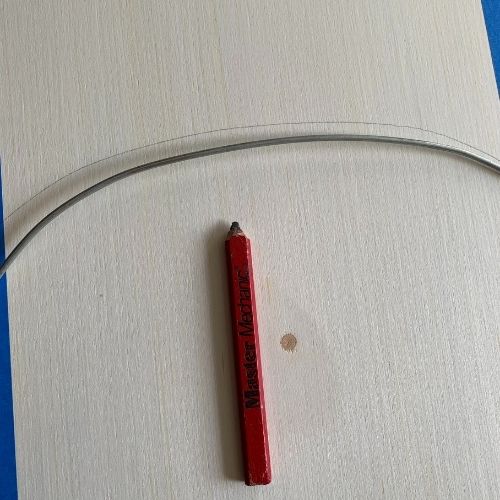
Once you have the gutter, you will want to make your curve. This is where the wire comes in handy. What we do is make a curve out of wire to fit the size and look of the boards we are making. So if the central gutter is 12″ we will make the curve to fit. You will need to cut the wire longer than the 12″ curve (because it loses some length with the curve) and then you will want to bend it into the right shape by eye.
Step 3 – Create Curved Tape Lines
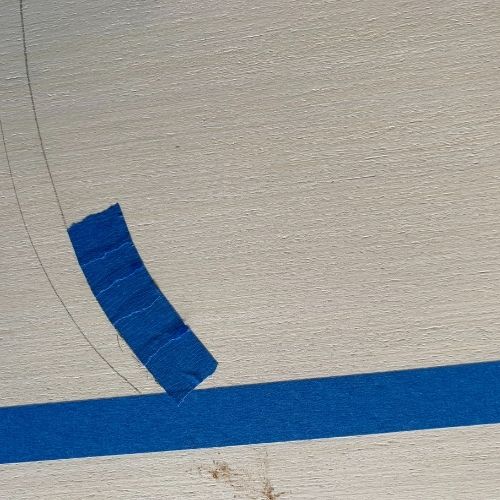
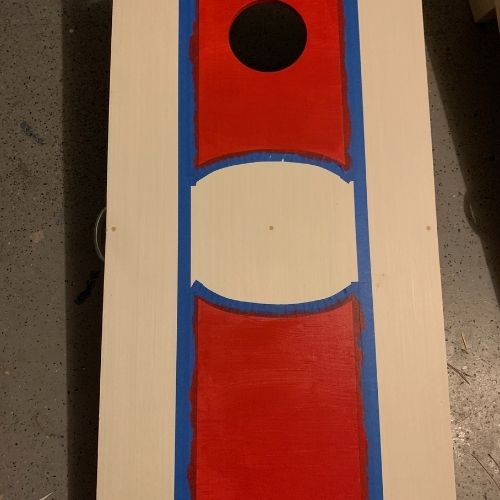
OK this is now the meat and potatoes of the project, and by far the most time consuming. There isn’t a super quick way to do this besides trying to cut out the curves, and we have not found that effective. So we take the painters tape and start ripping small ~1″ lengths and placing the edges along your curved line. Make sure to take your time and line up the pieces so the edge is even across the whole curve – Just the top edge of each! You will tape over the paint you are about to put down once it’s dry for the bottom lip of the edge.
Step 4 – Lay down your base layers of paint
Now you have a foundation to put down paint layers. The top edge of the bottom section should be tape, and inverse on the top section. You want the tape to be the edge of the paint, because once you lay down 2-3 coats of paint you can let it dry and then move to the next step. One thing we do is put a strip of tape down about 3/4″ into the central gutter to keep some open wood for the pin stripe. You can also just paint over the base coat if you want.
Step 5 – Tape Inside of Curved Line & Cut Excess
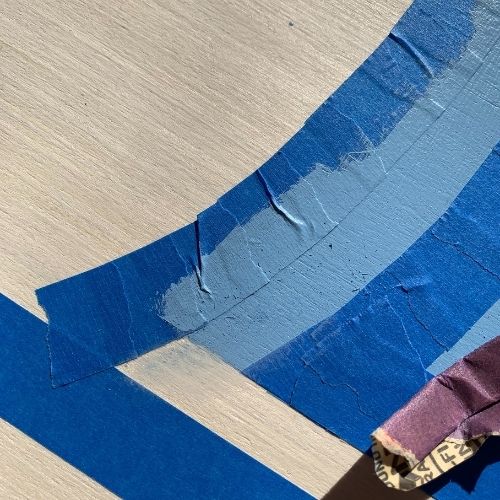
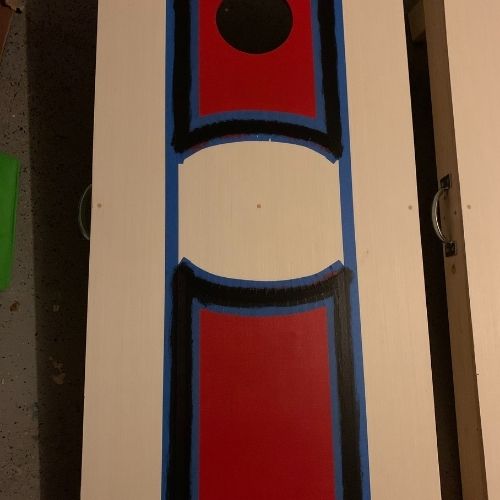
Now that you have your basecoat of paint down and its dry you can remove the strip of tape protecting the pinstripe. As you see to the right you will have the sides of the pinstripes bare wood, and then the top/bottom will be paint. Make sure to sand down the edge where the paint meets the pinstripe wood because the tape will leave a small raised spot that won’t look great painted over. This is where you will eyeball the bottom/top of the pin stripe and recreate the process from step 3. Use your box cutter to make sure the lines are clean and any excess tape is removed from inside the pin stripes.
Step 6 – Paint Pinstripes
Pretty straight forward on this step – use your brush to paint inside the lines you have created for the pinstripes. You will likely need 3-4 coats to properly cover up the spots where you are covering the base coat. Let dry for at least 8 hours before pulling the tape off – waiting overnight is best.
Step 7 – Pull off Tape and Add Logo
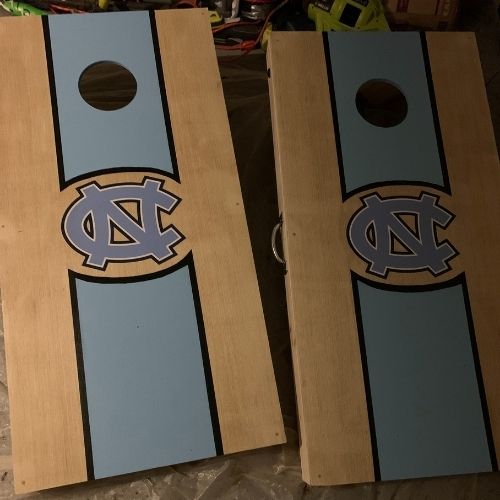
Hey you did it! Now that the pin stripe is dry you can pull the tape off and marvel at your masterpiece. You might need to touch up small parts where paint bled or where you messed up – thats OK just do your best with a small paintbrush (or even a sharpee). You can also add you logo at this point – we recommend using Elmers Glue Stick on the back of the vinyl logo. Apply the glue to the back of the decal, place it on the boards and then place books/cornhole bags on there for 4-12 hours to let it dry.

Recent Comments